Installation
-
- Go to the Excel 365 Add-In page on our website.
- Download the manifest file, which is the configuration file needed to install the ExMint add-in in Excel.
- Click on “Download Manifest”.
- The file will open in your browser. Right-click and choose “Save As” to save the file named “manifest-prod.xml” to your computer.
Next, go to office.com and sign in using your Microsoft account credentials. If you have multi-factor authentication enabled, approve the request on your mobile device.
Once you’re signed in to Microsoft 365, create a new Excel workbook. In this workbook, we’ll install the ExMint add-in:
- Click on the “Add-ins” button in the upper right corner.
- Choose “More Add-ins”.
- In the “My Add-ins” tab, if you don’t see the ExMint add-in listed, you’ll need to upload it:
- Click on “Manage My Add-ins”.
- Then select “Upload My Add-in”.
- Browse for the manifest-prod.xml file you downloaded earlier.
- Click “Upload”.
You’ll see a welcome note indicating that the add-in has been installed. If the add-in isn’t immediately visible, click on the three dots (ellipsis) to reveal additional options.
Logging In
-
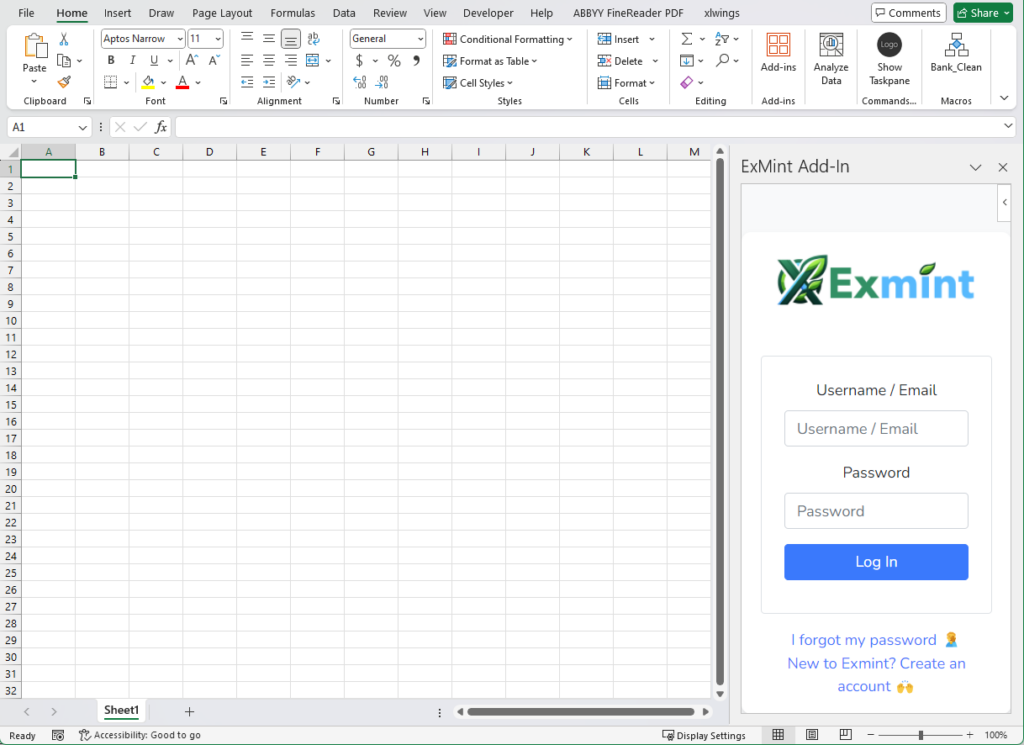
- Click on the ExMint icon in the Excel ribbon to open the add-in pane.
-
- You’ll see the login screen with the ExMint logo.
-
- Enter your username/email and password in the respective fields.
-
- Click the “Log In” button.
If you don’t have an account:
-
- Click on the “New to Exmint? Create an account” link below the login form.
-
- You’ll be redirected to the ExMint website to complete the registration process.
If you forgot your password:
-
- Click on the “I forgot my password” link.
-
- Follow the instructions to reset your password.
Dashboard Overview
After successful login, you’ll be redirected to the ExMint dashboard within Excel.
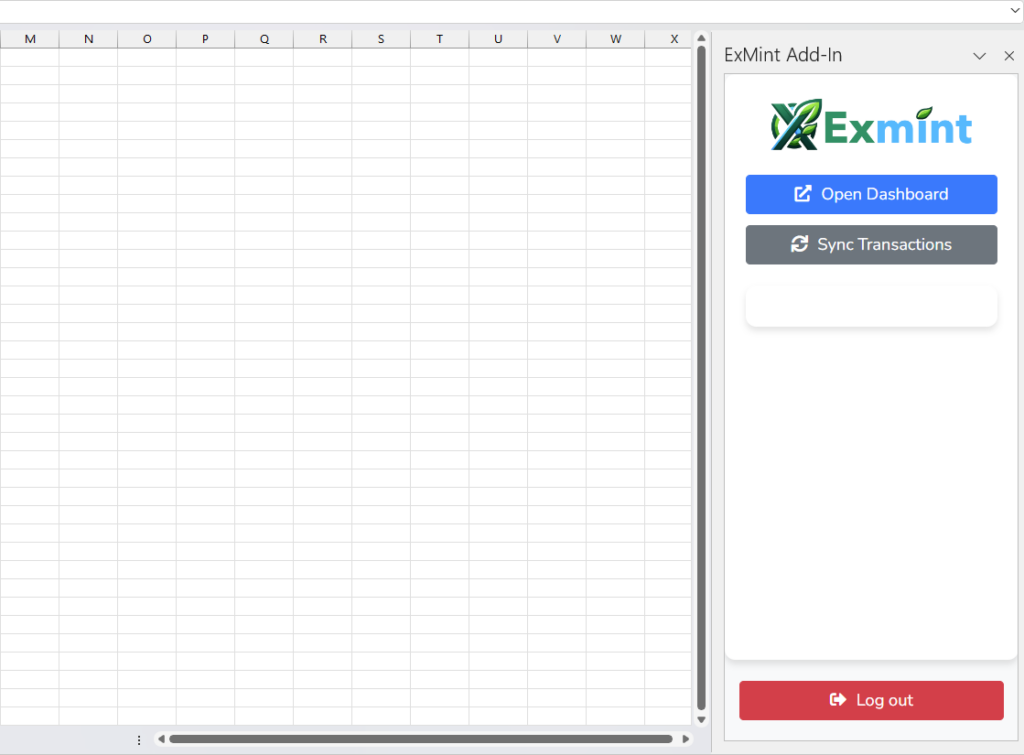
The dashboard contains several key elements:
-
- Open Dashboard Button: This opens the web-based ExMint dashboard in your default browser, providing additional features and visualizations.
-
- Sync Transactions Button: Use this to fetch the latest transactions from your connected bank accounts.
-
- Cards Container: This area displays success or error messages after syncing transactions.
-
- Logout Button: Click this when you’re done using ExMint to securely log out of your account.
The ExMint Add-In creates several sheets in your Excel workbook:
-
- Transactions: Contains all your synced transaction data.
-
- Accounts: Provides an overview of your connected bank accounts.
-
- Dashboard: Displays summary information and pivot tables for quick analysis.
-
- Conf: A hidden sheet containing configuration data (do not modify this sheet).
In the following sections, we’ll delve deeper into how to use these features effectively to manage your finances.
Remember, ExMint prioritizes the security of your financial data. Always ensure you’re using ExMint on a secure, private device and network.